DIY Skateboard Customization: Transform Your Ride Today
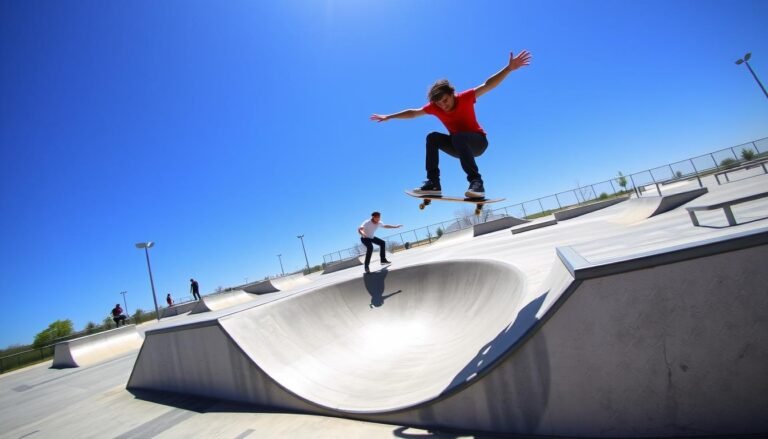
Skateboarding is more than a sport; it’s a way to express yourself. With DIY skateboard customization, you can turn your board into a unique piece of art. It shows off your style and creativity.
Custom skateboard designs let you stand out from the crowd. Whether you’re new to skateboarding or have been doing it for years, making your board your own can make you feel more confident. It also makes your skateboarding experience better.
DIY skateboard customization lets you get creative. You can change the grip tape or paint the deck. Not only will your board look amazing, but you’ll also learn new skills. These skills make your skateboarding journey more fun and personal.
Key Takeaways
- Personalize your skateboard with unique design techniques
- Learn cost-effective customization methods
- Enhance board performance through strategic modifications
- Express your individual style through custom designs
- Develop new technical skills while upgrading your skateboard
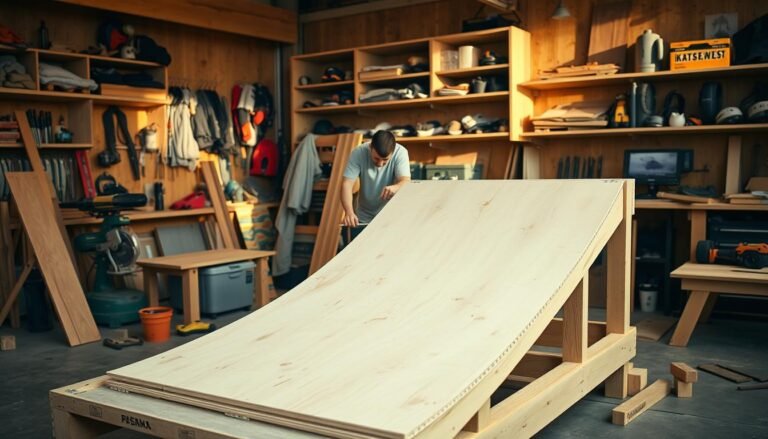
Understanding the Basics of Skateboard Customization
Starting with DIY skateboard customization opens a world of creativity and personal style. It’s for everyone, from beginners to experienced skaters. Turning your skateboard into a unique piece of art needs careful planning and the right tools.
Customizing skateboards is more than a hobby; it’s a chance to make something special. Before starting, it’s important to know the key elements for a successful project.
Essential Tools and Materials
To get ready for your project, you need the right tools and materials. Here’s a list of what you’ll need:
- Sandpaper (various grits)
- Protective paint or spray paint
- Paintbrushes and rollers
- Masking tape
- Stencils
- Protective clear coat
Safety Considerations for DIY Projects
When working on skateboard customization, safety comes first. Protect yourself with:
- Safety goggles
- Respirator mask
- Disposable gloves
- Well-ventilated workspace
Workspace Setup Guide
Setting up the right workspace is key for your project. Follow these tips:
- Choose a clean, flat surface
- Cover work area with drop cloths
- Ensure good lighting
- Keep workspace organized
Your budget for a DIY skateboard project can be $90 to $350. This depends on your project’s complexity and the materials you pick.
| Component | Price Range |
|---|---|
| Deck | $30 – $120 |
| Trucks | $20 – $80 |
| Wheels | $15 – $60 |
| Bearings | $10 – $70 |
Selecting the Perfect Deck for Customization
Custom skateboard designs start with choosing the right deck. Every skateboard enthusiast knows that the foundation of an amazing ride begins with selecting a quality deck. This deck should match your personal style and skating preferences.

- Material composition (maple, bamboo, carbon fiber)
- Deck width and length
- Riding style compatibility
- Weight and flexibility
Different deck types support various custom skateboard designs. Street skaters typically prefer narrower decks (7.5-8.25 inches). On the other hand, park and ramp riders often choose wider boards (8.5-9 inches) for stability.
Pro tip: Measure your shoe size and skating style to determine the ideal deck width for optimal performance and comfort.
Budget-conscious riders can transform pre-owned decks, but new blank decks offer a pristine canvas for skateboard deck graphics. Consider your skill level, artistic vision, and technical abilities when making your selection.
Key considerations for deck selection include:
- Deck construction quality
- Wood grain and durability
- Shape and concave design
- Weight distribution
Invest time in researching deck options that align with your creative vision and skating technique. The right deck transforms your skateboarding experience from ordinary to extraordinary.
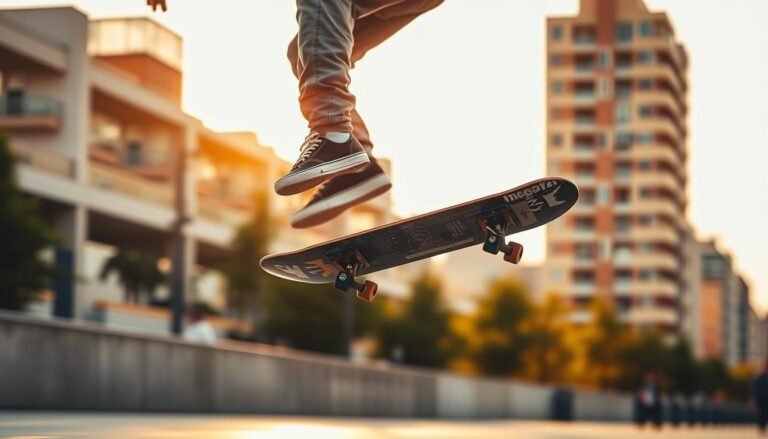
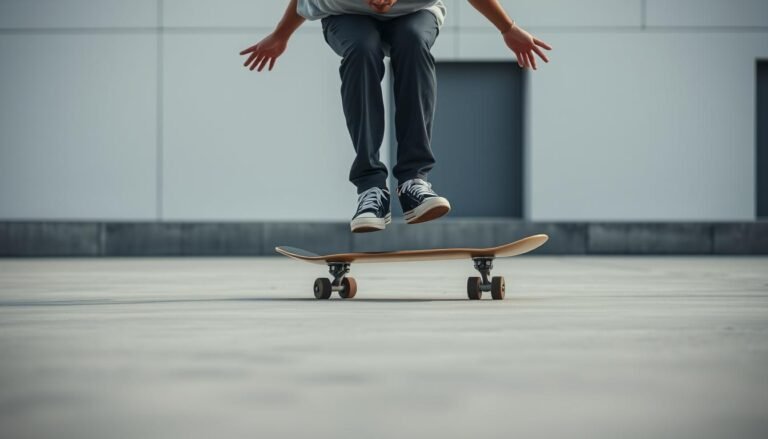
DIY Skateboard Customization: Step-by-Step Guide
Turning your skateboard into a unique piece needs careful planning and precise steps. DIY customization lets you show off your style and make a one-of-a-kind ride. With the right skills, anyone can make an ordinary deck into a stunning work of art.
Skateboard painting has changed a lot. Now, 40% of skateboarders aged 18-24 love to make their boards special. The process needs focus and careful planning.
Surface Preparation Techniques
Getting the surface right is key for great customization. Here are the main steps:
- Sand the deck well to make it smooth
- Clean it with rubbing alcohol to get rid of dust and oils
- Apply primer to help the paint stick
- Use fine-grit sandpaper for the last smooth touch
Design Planning and Layout
Good design planning makes your skateboard stand out. Think about these steps:
- Sketch out your design ideas first
- Use digital tools for detailed planning
- Transfer your design with transfer paper
- Make stencils for detailed patterns
Application Methods
Using top-notch application methods can make your DIY project shine:
| Method | Difficulty | Result |
|---|---|---|
| Spray Painting | Beginner | Smooth, even coverage |
| Brush Painting | Intermediate | Detailed, textured finish |
| Airbrush Technique | Advanced | Intricate, professional design |
“Customization is not just about appearance, it’s about creating a skateboard that reflects your unique personality and riding style.”
60% of skateboarders say customization makes their ride better. Spending time on the right techniques can really change your board. Costs vary from $100 to $300, based on how complex and what materials you use.
Creating Custom Grip Tape Patterns

Skateboard grip tape turns a simple deck into a canvas for art. Riders can show off their style while keeping the board’s performance top-notch.
Making custom grip tape patterns is a mix of creativity and precision. It involves several important steps:
- Precision cutting using razor blades or craft knives
- Stencil design for repeatable patterns
- Layering multiple grip tape colors
- Incorporating detailed geometric shapes
Skaters share some key tips for designing grip tape patterns:
- Always measure twice before cutting
- Use sharp cutting tools for clean edges
- Practice on scrap grip tape first
- Protect the underlying deck surface
Craft&Ride Grip Tape is great for custom designs. Their special low-grit formula ensures the right fit for shoe grooves. This means you can be creative and perform well. They offer fast shipping and a lifetime warranty, so you can try new things without worry.
Skateboard grip tape patterns are more than looks. They’re a way to express your creativity and keep the board working well.
Advanced Deck Painting Techniques
Skateboard deck graphics are more than looks. They show off your creativity and style. With the right techniques, you can turn a simple deck into a masterpiece that shows who you are.

To master advanced painting, you need to know your materials and methods. The secret to amazing graphics is in the prep and how you apply the paint.
Proper Paint Selection
Choosing the right paint is key for top-notch graphics. Each type has its own benefits:
- Acrylic paints: Versatile and dry fast
- Spray paints: Great for smooth finishes
- Specialized skateboard paints: Lasts longer
Layering and Sealing Methods
For pro results, layering and sealing are essential. Here are some must-know methods:
- Start with primer for a smooth base
- Paint in thin, even layers
- Use masks for sharp lines
- Seal with a clear coat
Special Effects and Finishes
Make your graphics pop with special techniques:
| Technique | Effect | Difficulty Level |
|---|---|---|
| Marbling | Unique swirling patterns | Intermediate |
| Splatter Painting | Dynamic, energetic look | Beginner |
| Textured Mediums | Dimensional graphic elements | Advanced |
Pro tip: Always work in a well-ventilated area and use protective gear when experimenting with skateboard painting techniques.
Wood Burning Art for Unique Deck Designs

Wood burning turns regular skateboard decks into amazing works of art. This method, called pyrography, lets skaters add unique and detailed designs right on their decks.
To start your wood burning project, you’ll need some basic tools:
- Wood burning pen with interchangeable tips
- Protective gloves
- Ventilated workspace
- Sketch or design template
- Sandpaper
When you’re working with wood burning, safety is key. Make sure you’re in a well-ventilated area and wear gloves to avoid burns.
| Technique | Difficulty Level | Visual Impact |
|---|---|---|
| Basic Linework | Beginner | Low to Moderate |
| Detailed Shading | Intermediate | High |
| Complex Patterns | Advanced | Very High |
Start with simple designs if you’re new to wood burning. Practice on scrap wood first. Try different tips and temperatures to get cool textures and depths in your designs.
Pro tip: Always sketch your design lightly with pencil before burning to ensure precision and minimize mistakes.
Mastering Stencil Art on Skateboards
Skateboard stencils are a fun way to make your skateboard stand out. They turn ordinary decks into personalized art. Whether you’re new or experienced, making your own stencil designs can make your skateboard look amazing.

When you master stenciling, your skateboard deck graphics become truly unique. It takes precision, creativity, and the right approach to make your vision come to life.
Creating Custom Stencils
Creating your own skateboard stencils lets you explore endless creativity. Here’s how to start:
- Choose durable materials like mylar or acetate sheets
- Design your artwork using digital tools or hand-drawn sketches
- Use a sharp craft knife for precise cutting
- Ensure clean edges for crisp design transfer
Multi-Layer Stenciling Techniques
Advanced skateboard stencil artists use multi-layer techniques for complex designs:
- Plan your color layering sequence
- Start with lighter colors as base layers
- Allow each layer to dry completely
- Align subsequent stencils with precision
| Stencil Material | Cost Range | Difficulty Level |
|---|---|---|
| Mylar Sheets | €2.30 – €15.00 | Beginner |
| Acetate Sheets | €5.00 – €20.00 | Intermediate |
| Custom Digital Stencils | €10.00 – €50.00 | Advanced |
Pro tip: Invest in quality spray adhesive to prevent paint bleed and achieve clean, sharp lines in your skateboard deck graphics.
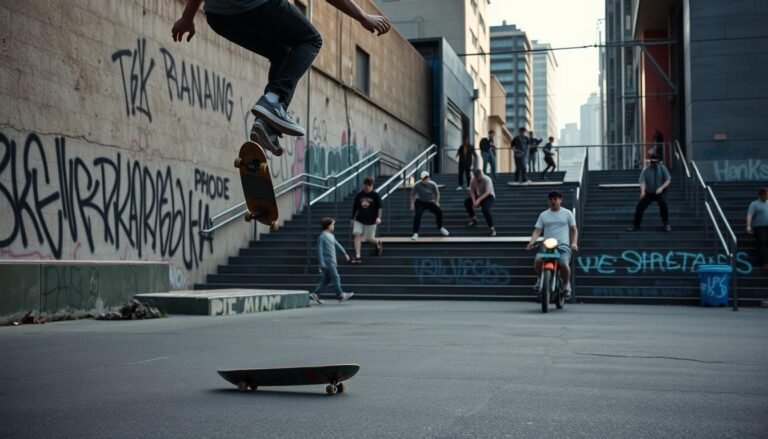
Custom Logo Design and Application
![]()
Creating unique skateboard logo designs turns a regular board into a personal statement. Custom designs let riders show off their style and creativity. Whether you’re a street skater or a pro, your board’s logo can be your visual signature.
Designing a good skateboard logo needs careful thought of several key elements:
- Simplicity: Keep the design clean and easy to spot
- Scalability: Make sure the logo looks great at any size
- Personal meaning: Show your personality or passion for skating
When putting your custom designs on your board, you have many ways to do it:
- Hand-painting with special skateboard paints
- Vinyl decal application for sharp, clear graphics
- Screen printing for a professional look
Pro tip: Think about where to put your logo. The right spot can really make your board look better and make your design pop.
Your logo can be more than just a picture – it can be your personal brand in the skateboarding world. Using the same design everywhere helps people recognize you and shows your unique identity in the skating community.
Professional-Grade Engraving Techniques
Skateboard engraving turns a regular deck into a personalized piece of art. It lets riders show off their style with detailed wood designs. These designs are more than just decorations.

For professional engraving, you need precision and the right tools. If you want to make custom designs, here’s what you’ll need:
- Rotary tools with variable speed settings
- Carbide engraving bits
- Wood carving chisels
- Handheld engraving pens
- Protective safety glasses
Pattern Development Strategies
Good skateboard engraving starts with careful design planning. Skaters should think about the wood grain direction. They should make patterns that fit well with the deck’s surface. Intricate designs look best when they match the wood’s natural texture.
Achieving Clean Engraving Results
To make professional skateboard art, you need practice and detail. Start with simple designs and get more complex as you get better. Trying new techniques like depth variation and multi-layered engraving can make your designs stand out.
90% of skateboarders who customize their setups report a higher level of enjoyment in their practice.
By learning engraving techniques, skateboarders can make their decks truly unique. These decks will be special and different from mass-produced ones.
Protective Finishing and Sealing Methods
Keeping your custom skateboard design safe is key to its look and life. DIY skateboard customization needs special care in finishing. This keeps your art safe and the deck in good shape.

Choosing the right protective coating is vital for your skateboard’s paint. Here are some important tips for sealing your custom design:
- Clear polyurethane provides excellent durability and water resistance
- Spray-on sealants offer quick and even application
- Epoxy-based clear coats deliver maximum protection
How you apply the sealant is just as important as what you use. Thin, multiple layers work better than one thick coat. First, make sure the paint is dry and smooth. Then, lightly sand between coats to get a smooth, protective layer.
| Sealant Type | Durability | Finish Quality |
|---|---|---|
| Polyurethane | High | Glossy |
| Epoxy | Very High | Crystal Clear |
| Acrylic Spray | Medium | Smooth |
Let each coat dry fully before adding the next. This ensures your skateboard stays protected and looks great. It shows off your painting skills.
Pro tip: Work in a well-ventilated area and use protective gear during the sealing process.
Your custom skateboard needs the best protection. By picking and applying the right finish, you keep your design safe. You also make a durable, cool skateboard that lasts through tough skateboarding.
Wheel and Bearing Customization
Customizing your skateboard is more than just the deck. Wheels and bearings are key for both looks and performance. Choosing the right parts can make your skateboard a true reflection of your style.

Knowing how to customize wheels and bearings is important. Skateboard wheels have changed a lot, thanks to polyurethane from the 1970s. Now, they offer better grip and ride quality.
Color Coordination Tips
Wheel color is a big deal in custom skateboard designs. Here are some tips:
- Match wheel colors with deck graphics
- Choose complementary color schemes
- Select wheels that highlight your skateboard’s unique aesthetic
Performance Enhancement Options
Customizing your skateboard isn’t just about looks. Performance is just as important. Different wheel features affect how you skate:
- Durometer (Hardness):
- Softer wheels (78A-87A): Better for cruising and rough surfaces
- Harder wheels (99A-104A): Ideal for street and technical skating
- Wheel size influences speed and maneuverability
- Bearing quality determines smooth rolling and overall performance
By picking and customizing wheels and bearings, skaters can make a ride that’s both stylish and functional.
Hardware Aesthetics and Performance
When you dive into custom skateboard designs, the hardware is more than just functional. It’s a chance to make your DIY skateboard stand out. Skaters know that trucks, nuts, and bolts are key for both looks and feel. With over 100,000 skateboards made every month, picking the right hardware can turn your board into something special.
Choosing the right colors is important for a unified look. Riders can pick hardware that matches their deck’s design. They might choose anodized nuts and bolts in bright colors or metallic finishes. Some go for titanium or stainless steel for durability and a cool look. The aim is to make a skateboard that shows off your style while performing well.
Keeping your skateboard in good shape is important. Regular checks for rust and replacing worn parts help it last longer. Think about your riding style—street, park, or cruising—when picking hardware. For example, titanium bolts are good for street skaters, while stronger options are better for aggressive tricks.
Every part of your skateboard adds to its character. From trucks to bearings, customizing your skateboard is about making it your own. Whether you’re new or experienced, choosing the right hardware can really improve your board’s style and performance.
FAQ
How much does it cost to customize a skateboard?
Customizing a skateboard can cost between and 0. This depends on your design and materials. Basic designs might cost , while advanced ones like painting or wood burning can be over 0.
Do I need professional art skills to customize my skateboard?
No, you don’t need to be an artist. Many techniques are easy for beginners. You can use stencils, tape designs, and online tutorials to create cool designs. Just remember, practice and patience are important.
What are the best paints to use on a skateboard deck?
Use acrylic or spray paints made for wood. Look for flexible and durable paints. Montana Gold spray paints are a good choice. Always prime and seal your work for protection.
How long does a custom skateboard design take to complete?
Time varies by technique. Simple designs might take 1-2 hours. But detailed painting or wood burning can take 4-8 hours over several days.
Will customizing my skateboard affect its performance?
Customization shouldn’t hurt your skateboard’s performance if done right. Just avoid adding too much weight or uneven surfaces. Use light materials and apply them smoothly.
What safety precautions should I take when customizing my skateboard?
Work in a well-ventilated area and wear protective gear. Use safety glasses and gloves, and respiratory protection when painting or wood burning. Keep your area clean and follow instructions for materials.
Can I customize a used skateboard deck?
Yes, but first check the deck for damage. Sand off old graphics, fix small issues, and make sure it’s sturdy before you start.
How do I protect my custom skateboard design?
Apply a clear coat like polyurethane or skateboard sealant. These protect your design from damage. Use thin layers and let each dry completely for best results.
What tools do I need to get started with skateboard customization?
You’ll need sandpaper, tape, an exacto knife, stencils, brushes, paints, clear coat, and protective gear. For advanced techniques, you might need wood-burning tools or airbrush kits.
How can I make my skateboard design unique?
Mix techniques like grip tape, painting, and stenciling. Draw from your interests, local art, or skate culture. Create a theme or logo that shows your style.